How to
manipulate the look of your background panels using Picasa by Google
If you don’t have Picasa on your computer, go to www.picasa.google.com and click the “download
Picasa” button.
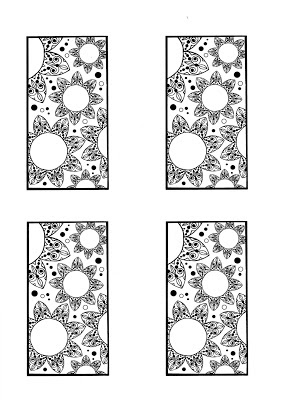
Copy and print the “Owl Flowers” background. Lay the copy
on your flatbed printer.
Open the Picasa program and click the “import” button in
the top left corner. You will be given a choice of locations to import the
picture, choose your printer by clicking on the name of the model you are
using.
A dialog box will appear asking you “what do you want to
scan?” Choose black & white picture or text and click the “scan” button.
Your printer will begin transferring the image to your
Picasa program, this may take some time. When the image appears on your screen,
click “import all or import selected”. This action will import the image.
Double-click the image and it will transfer to the tools screen. Here is where
you get to have some fun with the image.
On the left you will see a long rectangular box with five
tabs at the top used for manipulating your photos or images. They are:
1 Commonly needed fixes (wrench icon)
2 Finely-tuned lighting and color fixes (Sun icon)
3 Fun and useful image processing (paintbrush icon)
4 More fun and useful image processing (Paintbrush icon
w/green background)
5 Even more fun and useful image processing (Paintbrush
icon w/ blue icon)
Click each tab to see the different things you can do
with each tool. Experiment with some of the tools to get the feel of the
program. Remember you can always un-do anything by clicking the “un-do” button.
Here is how I got the look of the background you see in
my sample card.
Click the “More fun and useful image processing “ tab
Scroll down to the Duo-Tone tool and click it.
Click on the “second color” button first. This will establish
your background color. Move the eye dropper tool around the color spectrum
until you find one you like. Remember, not too dark, this is the background.
Now click the “first color” button. This will color the
flowers. Move the eye dropper tool around until you find a color you like and
click it.
Click the “apply” button to save this combination.
Click the green tab again and choose the “Lomo-ish”
option. This will give your panel a more intense color and create shadows
around the edges.
Go to the center bottom of the page and click “print”
You will be able to choose the size and number of images
you want to print onto your white cardstock.
Have fun!


