Instructions at the bottom.
What you'll need.
Clean aluminum cans
Scissors with sharp points
Alcohol ink
Felt Ink Applicators
Cuttlebug embosser or any
other embossing machine (plus plates)
Embossing folders
Paper towels
Aluminum foil or silicone craft
sheets
Paper trimmer
Here’s how to do it.
Poke two holes in the side
of an aluminum can with sharp pointed scissors as shown.
Carefully cut around the
bottom of the can side and the top of the can side. This will remove the top
and bottom of the can and leave you with an open cylinder
Cut the cylinder from top
to bottom as shown. This will give you a long rectangle of raw aluminum.
Using a paper trimmer, trim
the rough edges away from the long sides of the rectangle. Trim the two short
sides of the rectangle. This will give you a piece measuring 8” x 3 ¼”.
For my cards, I cut this
piece in half to yield two 4” x 3 ¼” pieces. (side benefit – this sharpens the
blade of my cutter!)
Place the aluminum inside
an embossing folder. Be sure to put the blank side of the aluminum facing the
manufactures mark on the folder as shown.
Lay down a piece of aluminum
foil or a craft sheet under your paper towel work surface. Alcohol ink will
leave a permanent stain on your work surface so be sure to protect it. Also if
you wish, you can wear gloves to protect from staining your fingers.
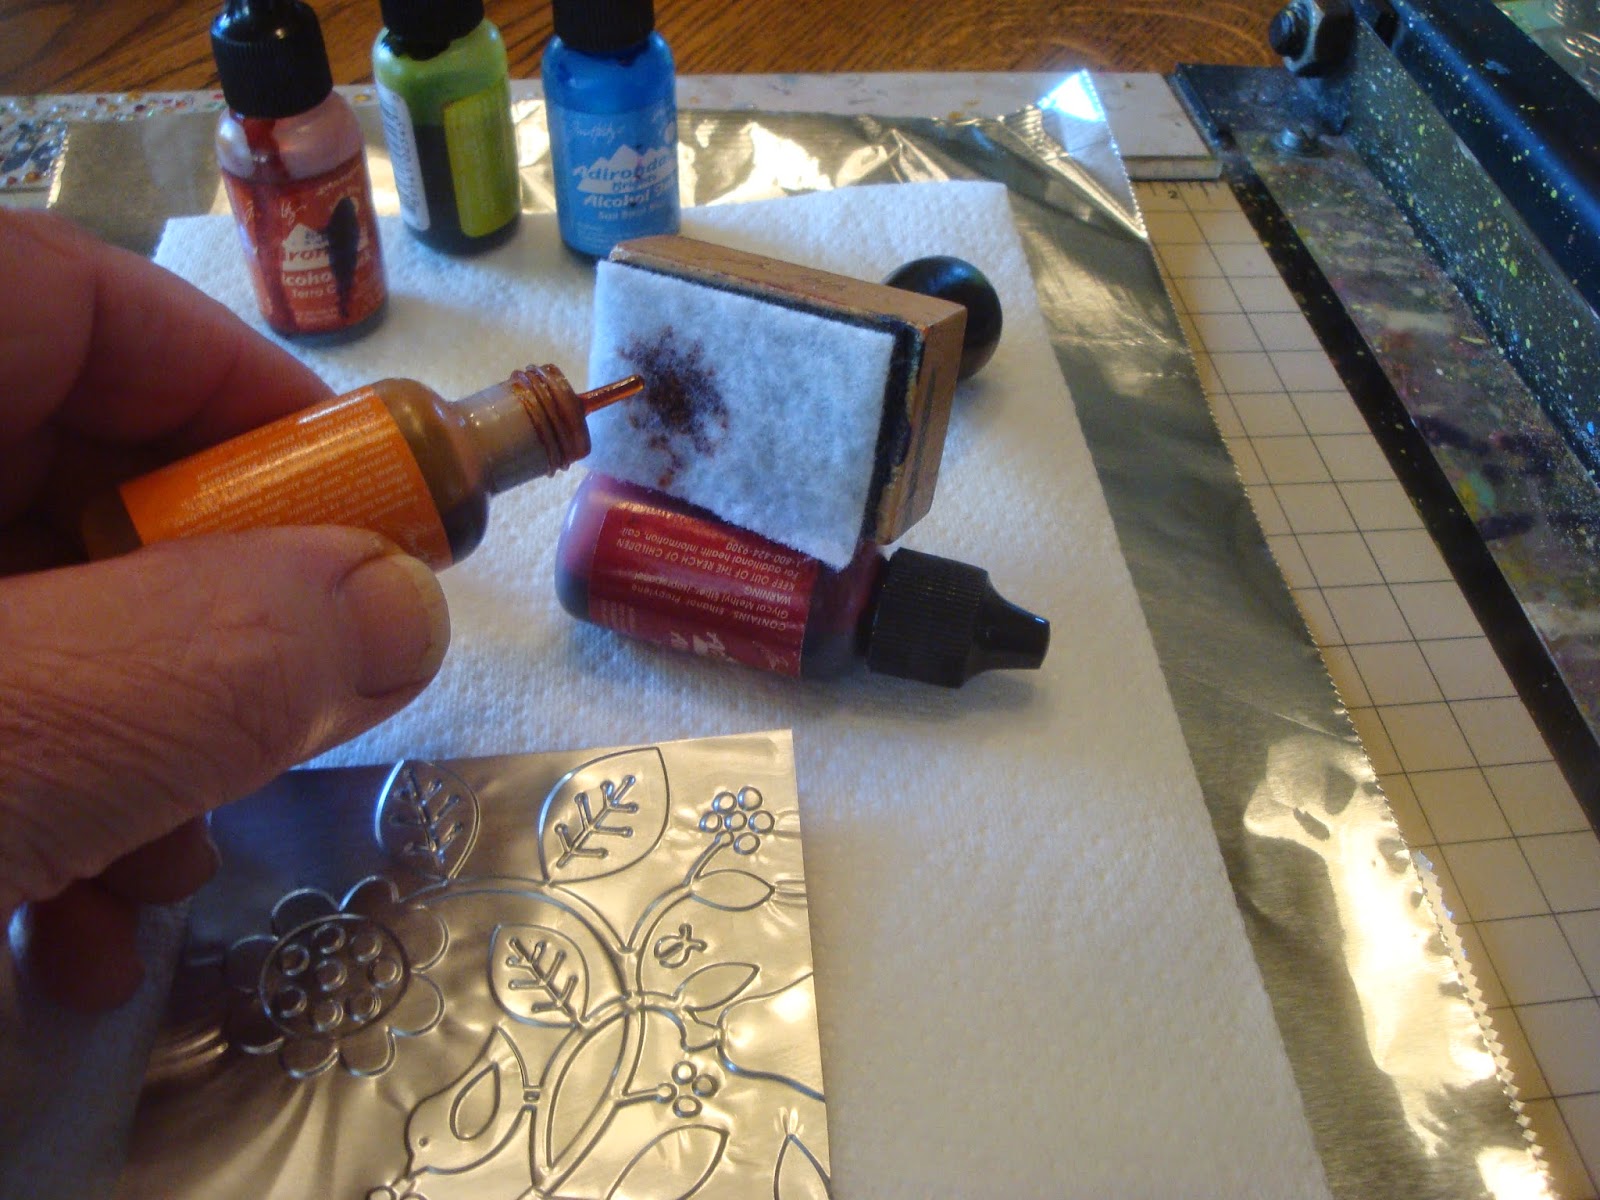
Squeeze a little alcohol
ink onto the felt applicator. Rub the entire surface of the embossed aluminum
to make a base coat.
Add more ink to the same
pad and start dabbing the ink here and there onto the base coat.
Add drops of ink right
from the bottle here and there and let it puddle. The ink will react in different
ways to the texture of the design and to the dryness of the underlying layer of
ink.
Experiment with the inks
until you like the color placement. You can also come back in and use the applicator
to “blend” the colors a bit although the object is to make the colors as
freeform as possible.
This is addictive and fun
and a great way to recycle aluminum!
Enjoy.


9 comments:
OMG, Mike, that is yummy delicious awesomeness! Can't wait to try it!
WOW WOW WOW!
Wonderful post!
Oh I love playing with old tin cans :) Don't think I've ever put it through an embossing folder though, must go have a try.
I have a Guinness can sitting in my craft room waiting to be cut up - they're a lovely gold inside, wonder how that will work....I'll let you know ;)
Thanks Micheal, first for the great tutorial today and for the heads up in my email box. Received a tree ornament that was a snowflake-- am sure it was made using a die cut and a soda can.
Hugs and smiles, Reva
Wonderful - I played with alcohol inks on foil recently and yes, it is addictive!!
Thanks again
Maxine
looks like so much fun
What a fab ideal. Thanks for sharing. Yours is gorgeous.
Wow, what a GREAT way to recycle! Love the colors in the finished product too.
Wow, stunning project!
Post a Comment