Materials:
Baby wipes (non-scented without embossed patterns work best)
A variety of dye inkpads
White cardstock
Paper towels
Newspaper
Rubber, Latex or Vinyl gloves
Spray glue (I use 3M super 77)
Paper cutter
Steps:
Lay out some newspaper with paper towels on top. You will be laying your “tie dyed” sheets here to dry. Put on gloves so you don’t end up with tie dyed fingers. Open the ink pads. Take out a fresh baby wipe from the package and wad it up as shown. Press the wadded up baby wipe onto one of the open ink pads. Now, turn the wad to a clean spot and press it again onto the inkpad. Continue this process until you have approximately 50% color and 50% white. To add a second color, start pressing the white areas of the wad onto the second pad.
NOTE: if using more than one color, begin the “touch & turn” process with the lightest color and work your way into the darker colors as you go. This will help keep the lighter pads from turning into a different color.
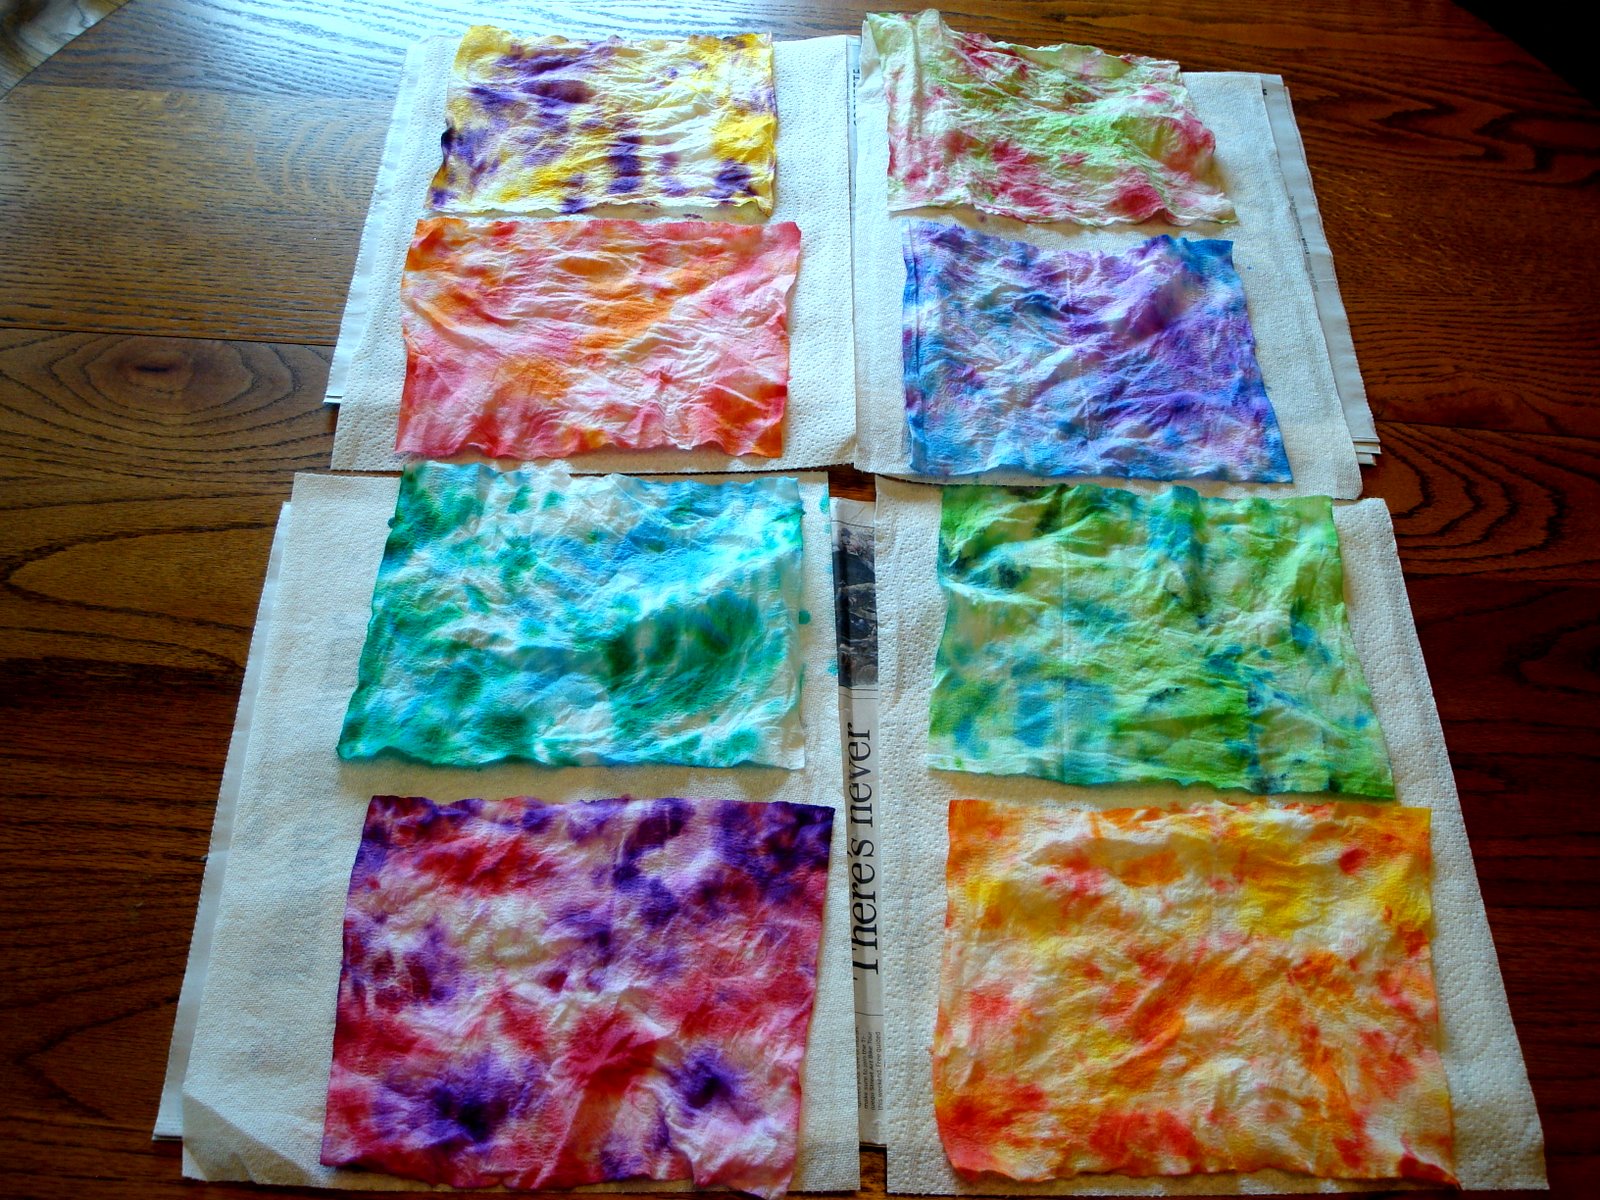
Lay the colored baby wipes on the paper towels to air dry. After they are dry, you may want to use a cool iron to smooth them out.
Spray a sheet of white cardstock with the spray glue. Carefully lay the tie dyed cloth onto the glued surface and press flat. Use your paper cutter to trim the uneven areas away from the edges to make a rectangular tie dyed cloth with cardstock backing. I was able to trim mine to 6 1/2“x 8”. Your results may differ depending on the size of the baby wipe. Now you can neatly trim them to any size you need for cards or layouts. Enjoy!